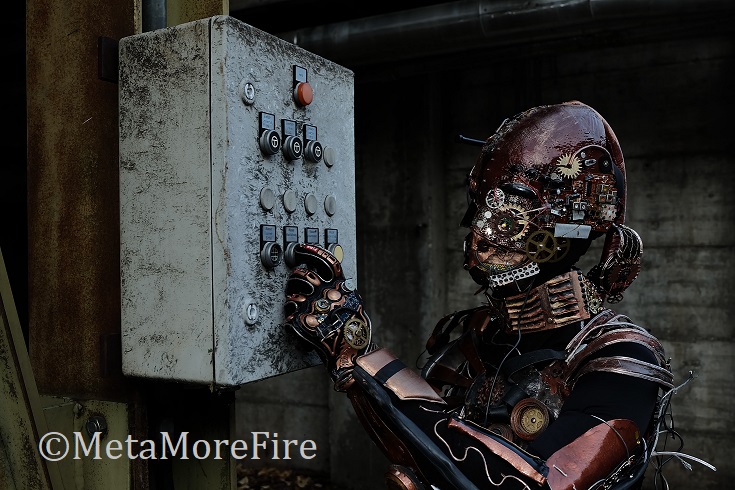
Making of the robot costume

The Making of the Robot

PHASE 2 – Crafting a Mask

;

Mask: Christiane Meyer & her Grandpa

Camera: Steve Bache

Music: Marc Eyrich

Compositing: Maestrone Pivetta


Note: “Feuer. Metall. Rotation.” used to be the working title


This is the moment to honor my grandpa’s incredible engineering talents, curiosity, precision, and his well-equipped workshop. I often came to him with various crafting ideas, and he always approached them with enthusiasm. Over the years, he built toys for me and, later on, even fire props. Thankfully, he was excited about the robot project!

He became the first person to help me create a large and intricate robot piece: The Head.

1. Plaster Cast

To make the mask fit perfecrtly I started by making a plaster cast of half of my face. This was intentional for two reasons: first, so I could still see and breathe during the process, and second, to allow the cyborg design to slowly reveal itself later. To create a plaster cast, you use plaster sheets of Paris or a similar quick-setting material mixed with water, which are layered over the object or body part to capture. Some Vaseline helps to protect the facial hair.

However, the plaster cast turned out too soft and fragile for further work.

2. Create a negative

We used the plaster cast to create a negative mold, using silicone – used for its flexibility and fine detail capture. It was kind of weird to see a head growing around the mask again.

3. Build the actual mask

Once we had the silicone negative, we made another negative mold out of  fiberglass, to recreate the mask of my face. This process ensured durability while preserving the intricate details of the original cast.

Fiberglass is often used to build boats and model airplanes because it’s incredibly strong yet lightweight. The process involves layering fiberglass sheets one by one with a special two-component epoxy resin (“glue”) until the structure is solid enough. However, working with fiberglass is far from simple. It’s a toxic material—both the resin and the fiberglass itself can be harmful. You must wear proper protective gear to avoid contact with the skin or inhalation of fibers, as the chemicals are hazardous.

My partner works with these materials in the boat-building industry, and he has to take extreme precautions: separating work clothes, taking multiple showers before contact, and being very cautious. He once even had a bike accident caused by passing out after working with these chemicals.

! ! So please, do not mess around with fiberglass without proper protection and ventilation ! !

Thankfully, my grandpa, a lifelong engineer and the embodiment of precision, tidiness, and perfection, ensured that we followed safety protocols throughout the process. Once the fiberglass headpiece was completed, we left it to dry for two days before I could start decorating.

4. Decorating the Mask

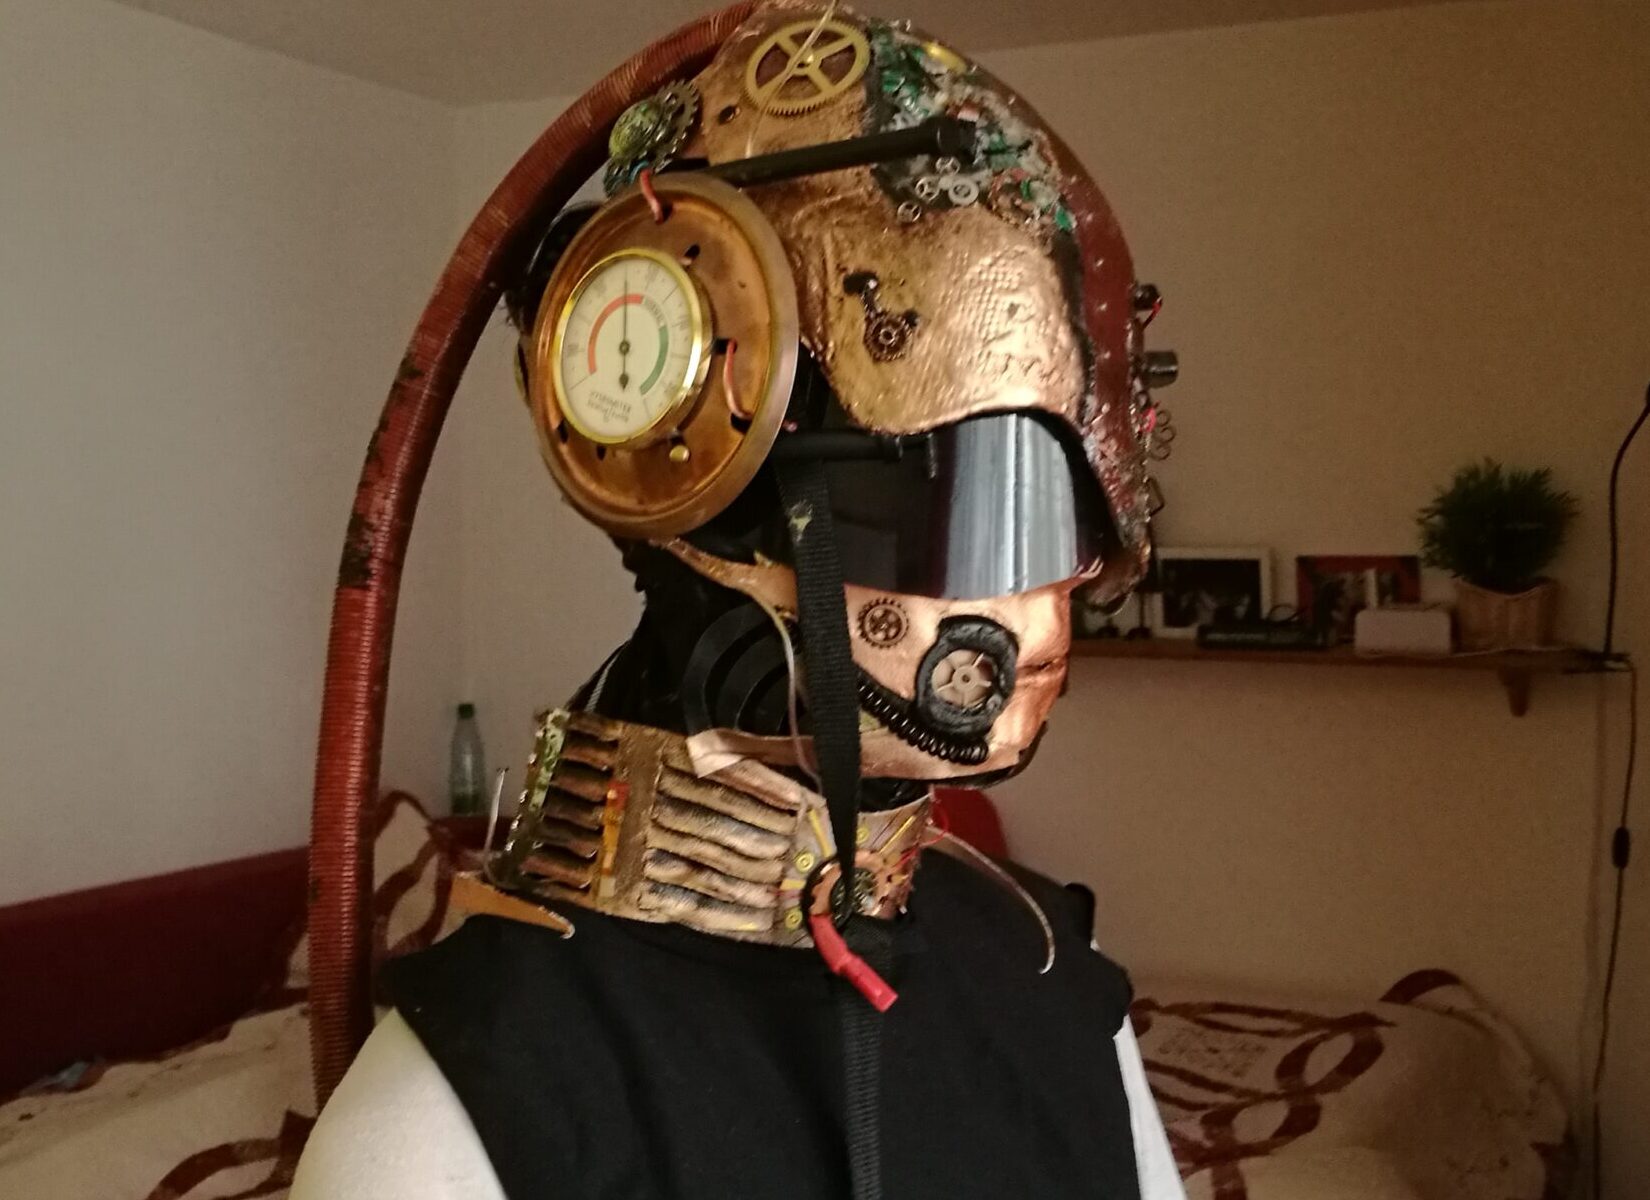
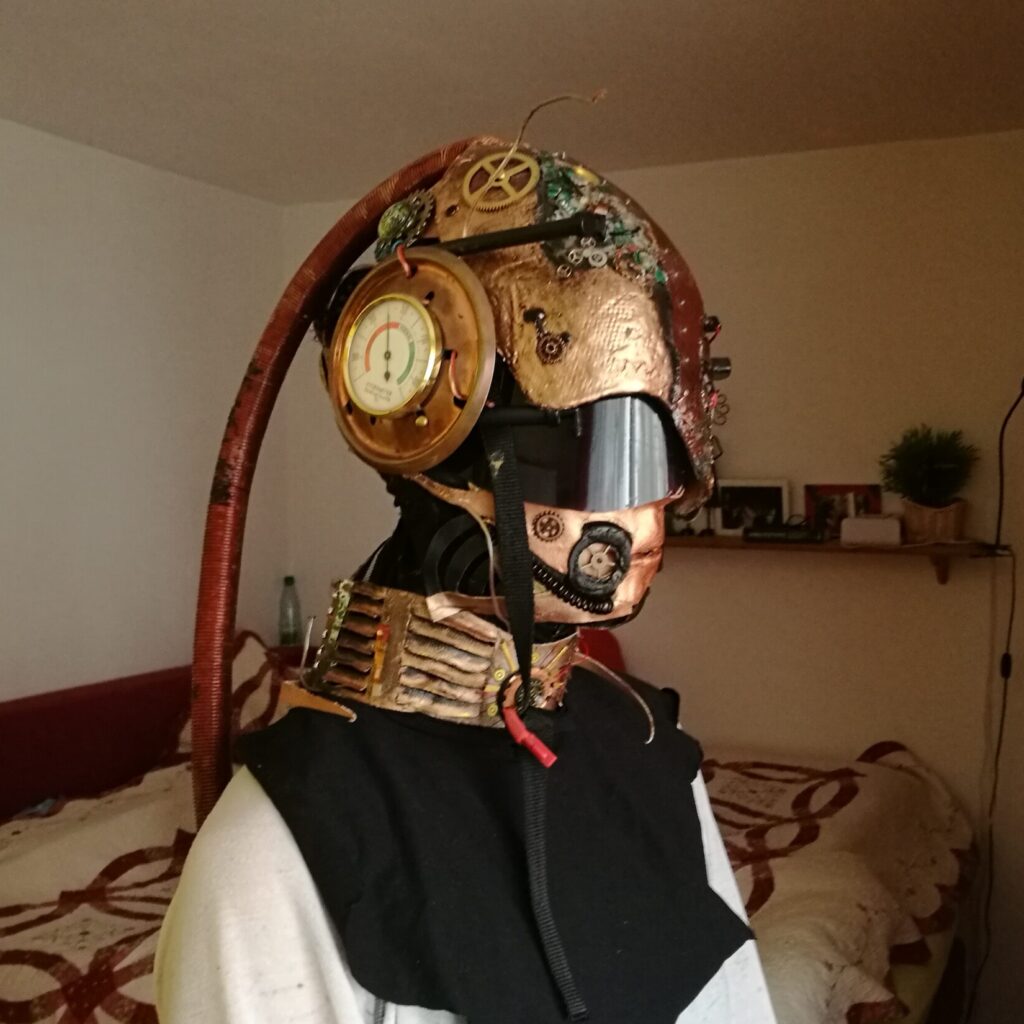
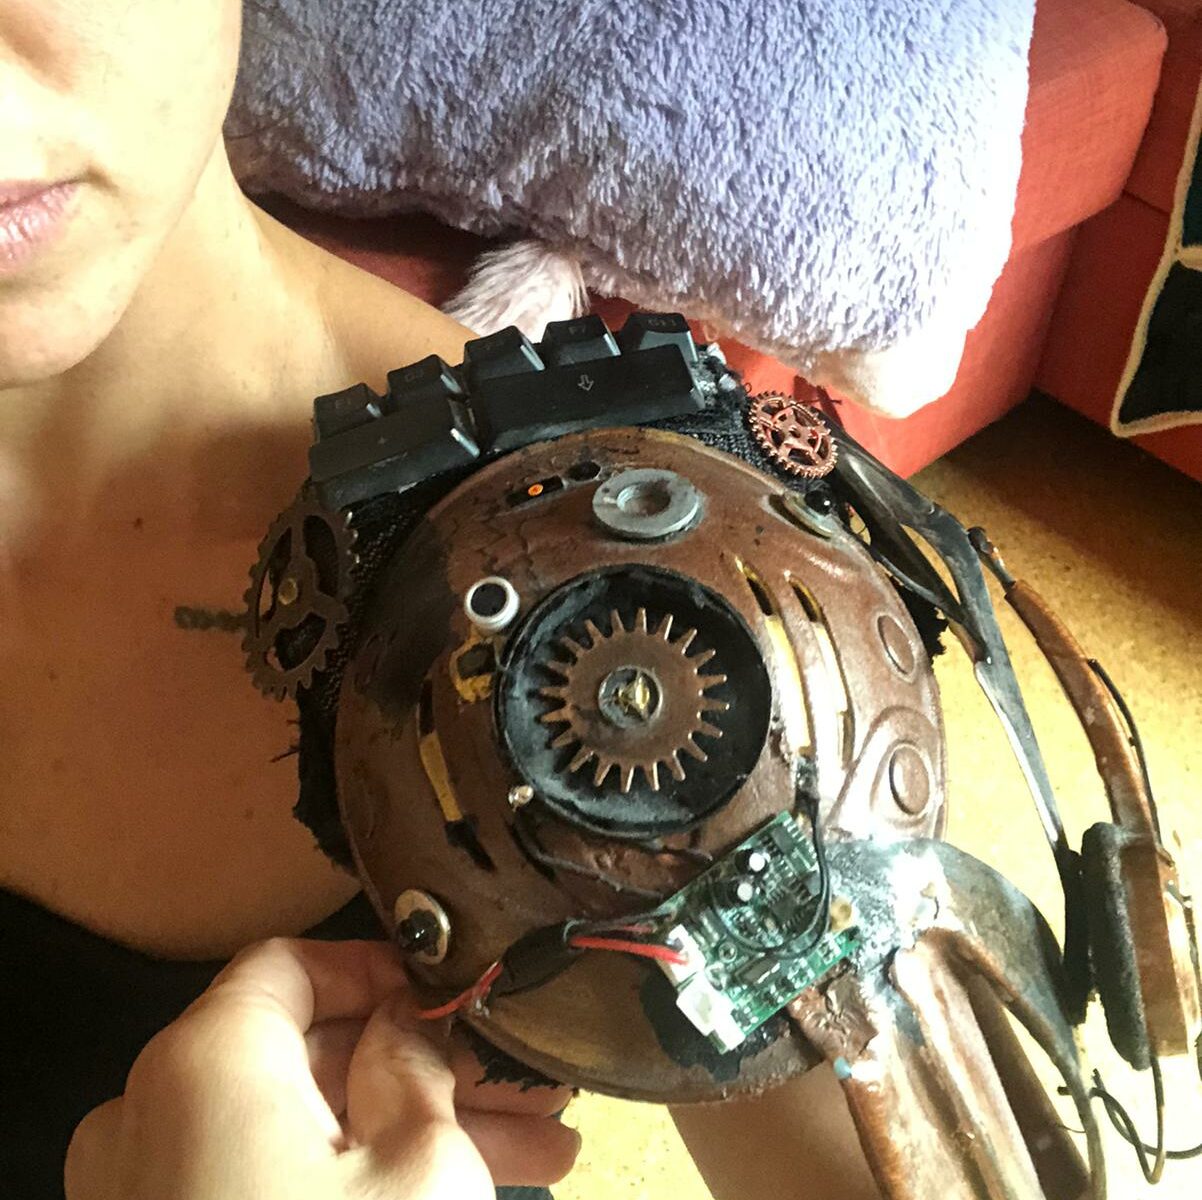
The decorating phase was a creative adventure. I dismantled my old radio, scavenged scrap materials from second-hand shops, picked up discarded items from the streets (“Sperrmüll”), and bought paints and tiny cogwheels. Piece by piece, the head began to take shape, its style emerging with every addition.

5. Presentation

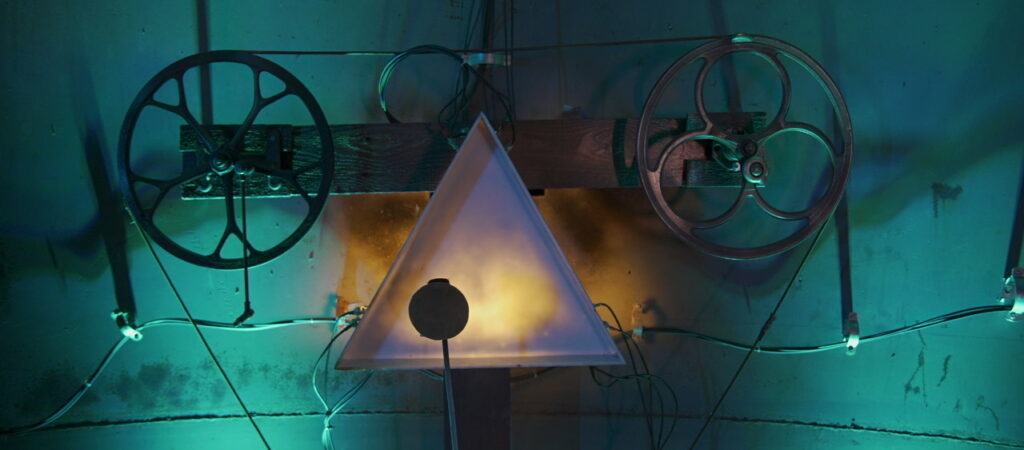
The first presentation of this headpiece was at the Filmakademie Ludwigsburg, where talented students helped me create a stop-motion animated clip. We set the head in various scenes and took thousands of pictures to bring it to life. While the result was undeniably cool, the painstaking work of stop-motion made me realize: this technique would not be part of my final movie. It’s an incredible art form but incredibly time-intensive.

Filmclip Credits:

Camera: Steve Bache

Music: Marc Eyrich

Compositing: Maestrone Pivetta


6. Its just the start!

The head wasn’t fully finished yet—the mask was just the beginning. I added much more such as a face shield (using car window sticker foil on plastic), a tube at the top, a mouth out of worblar and a fabric to cover the neck.

But the style was defined, and the foundation was laid. Slowly, I started to grasp the enormous amount of work it would take to complete an entire costume…

Subscribe to our newsletter and follow our social media to stay updated for much more to come!

Film Social Media

Subscribe

* indicates required

Becoming a Cyborg​

Explore how Udo Schurr and Transformaker Shop helped create the cyborg costume for MetaMoreFire. Discover the process, challenges, and final result of this stunning visual transformation.

Becoming a Cyborg

How bodypaint & latex created the look

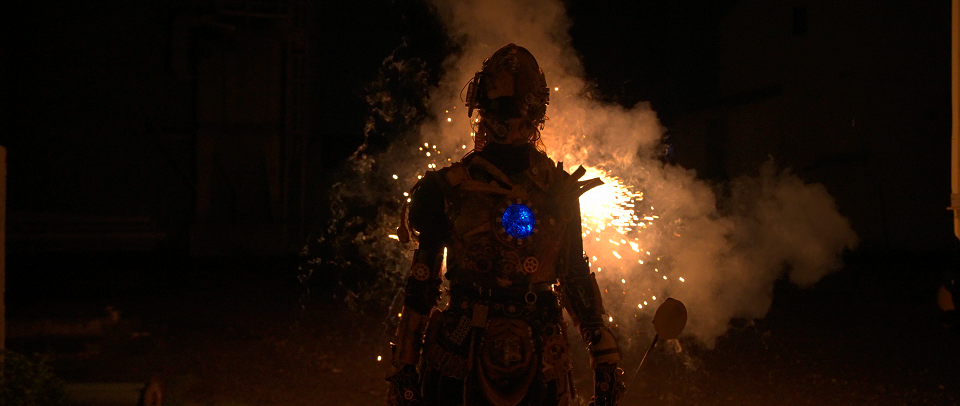
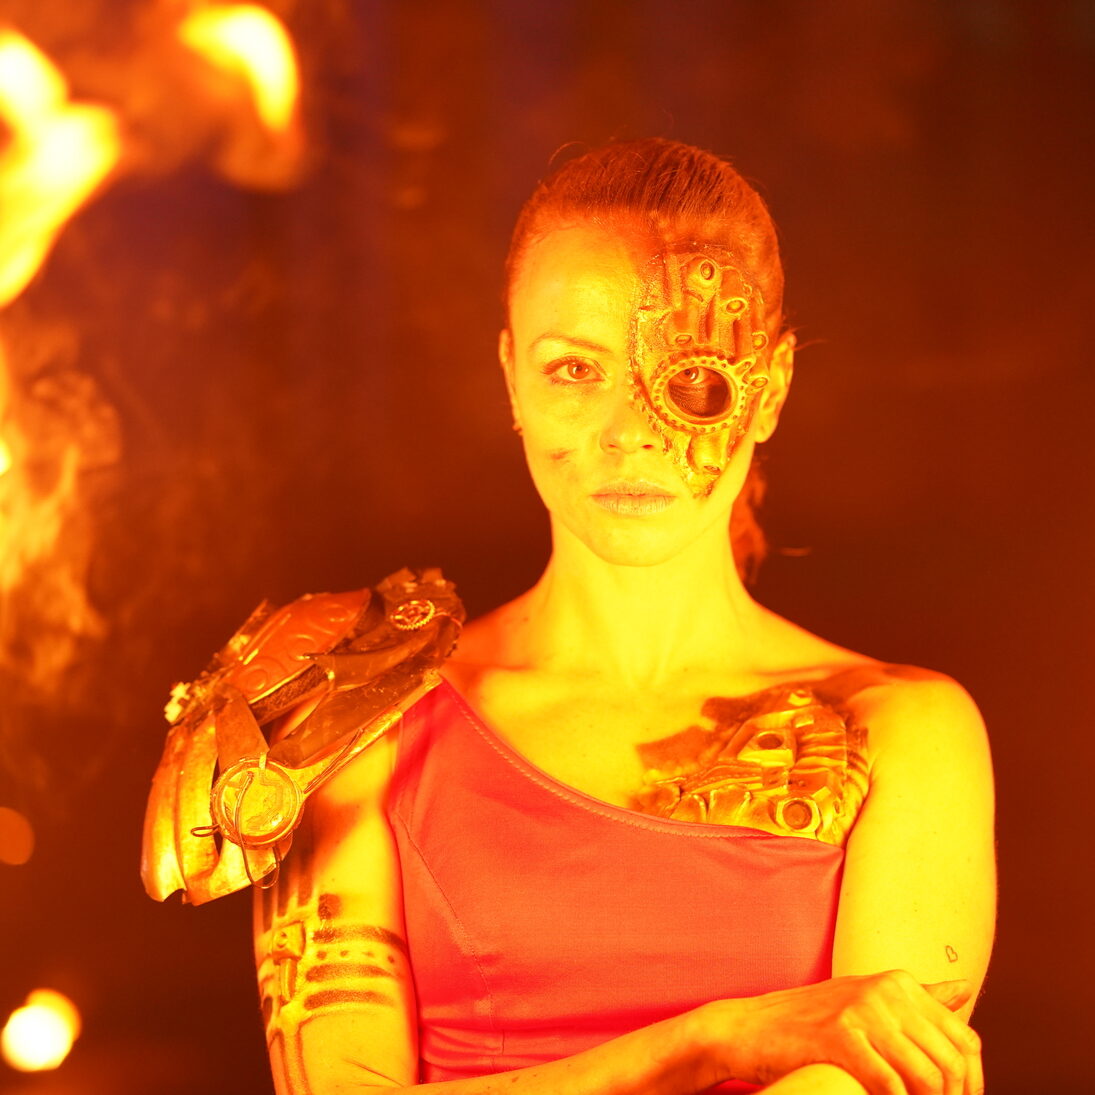
One exciting and challenging part of creating MetaMoreFire was the creation of the cyborg costume. The task? To show both the mechanical and human sides of the character while maintaining a fluid, artistic transition between the two.

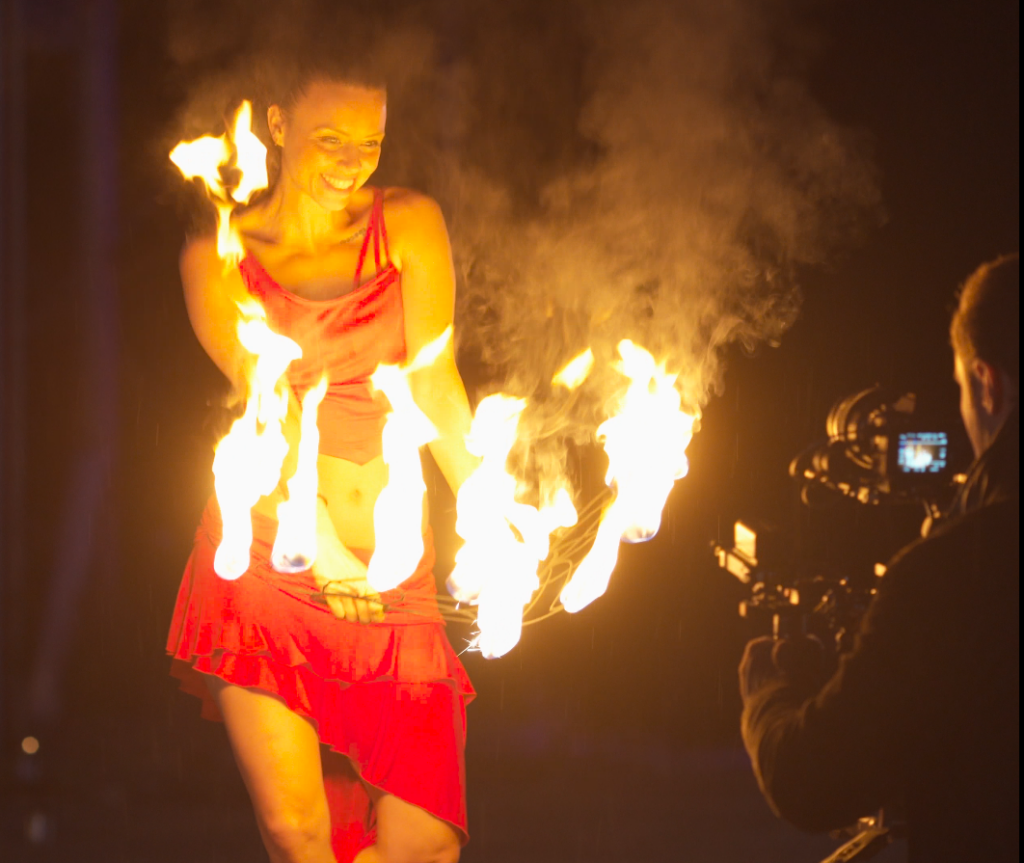
Besides the red fire dress and some party from the full robot costume, we were also lucky to have the latex parts sponsored by Transformaker Shop, which played a crucial role in bringing this vision to life.

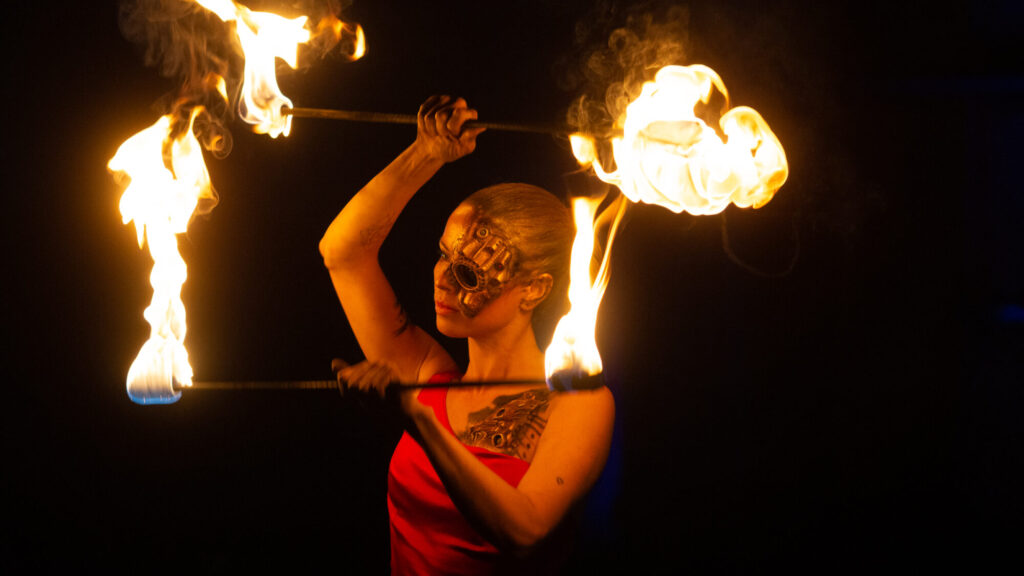
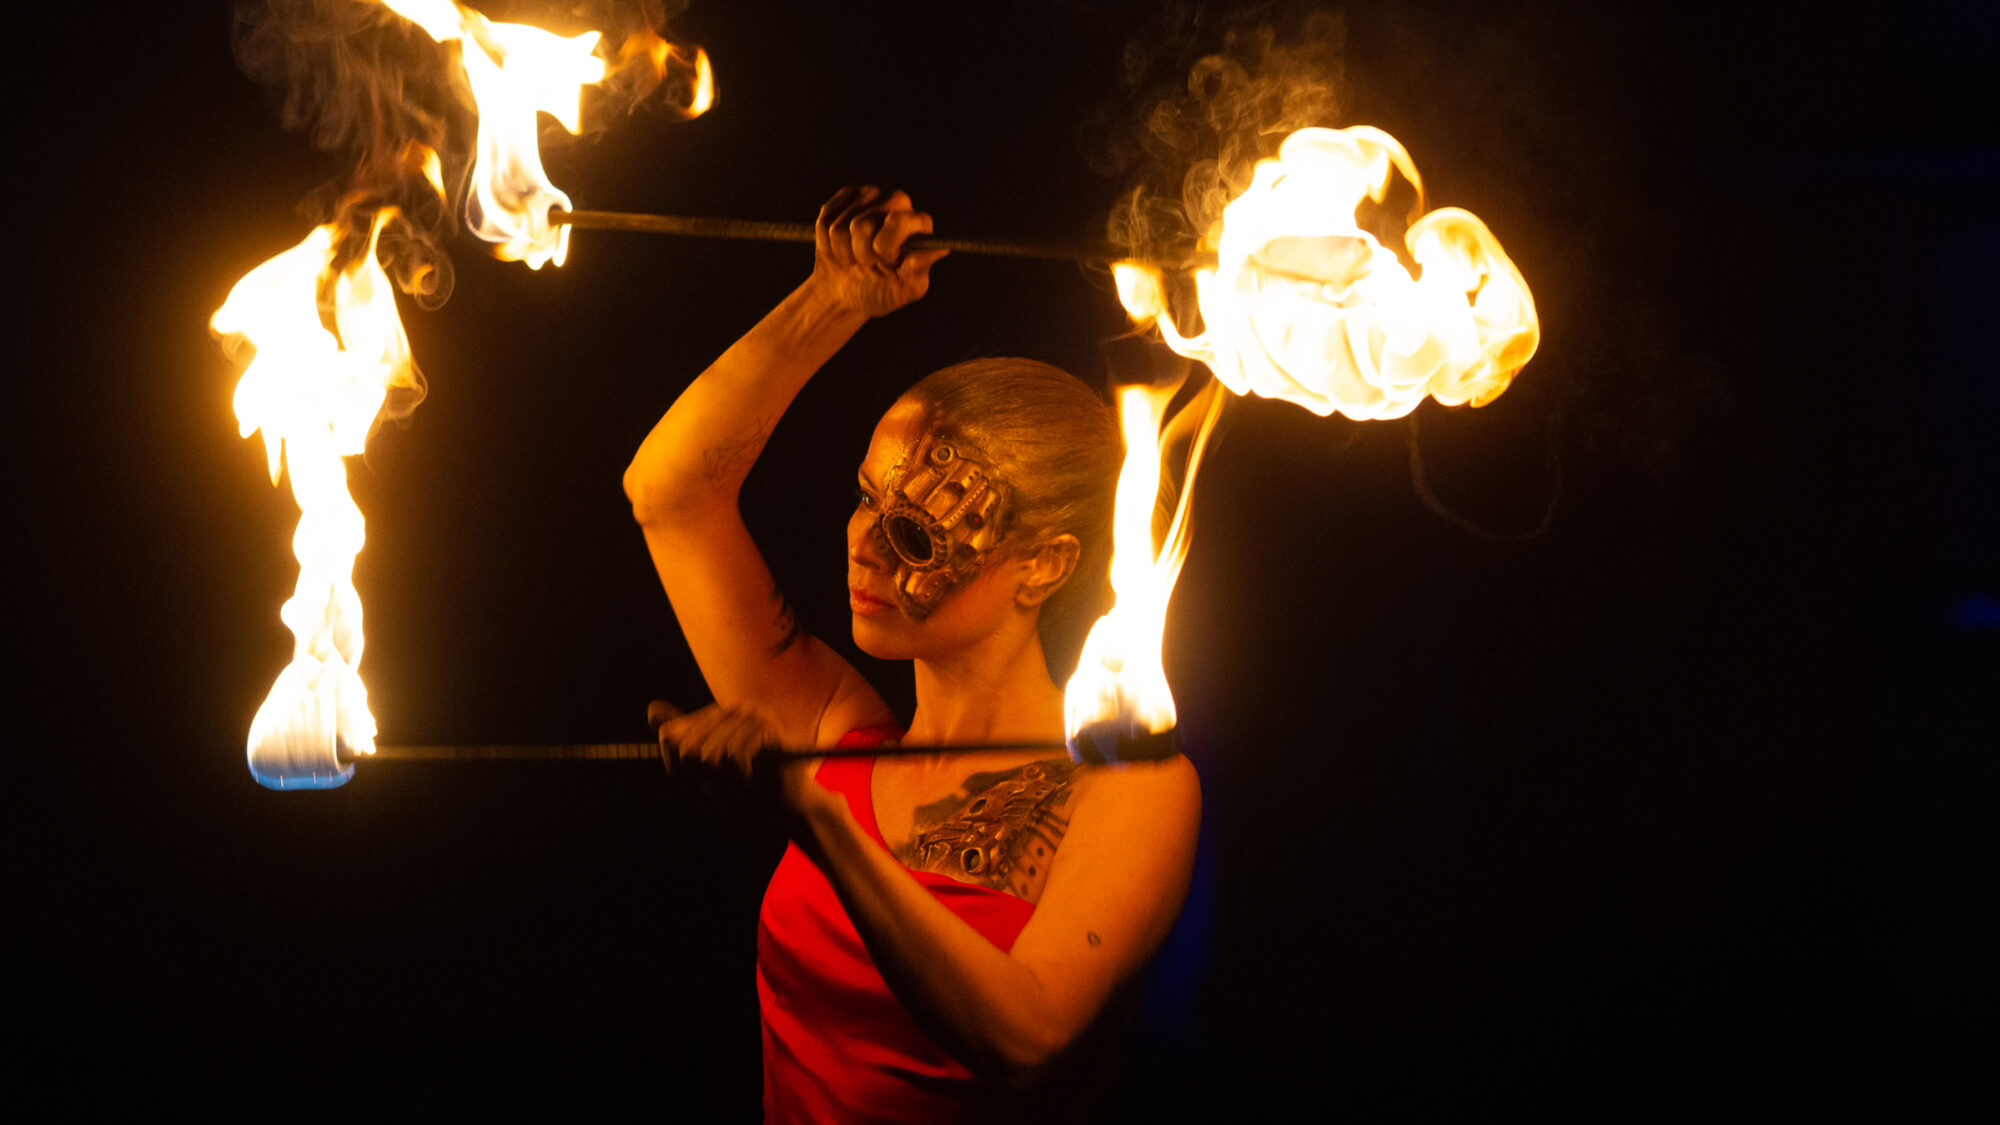
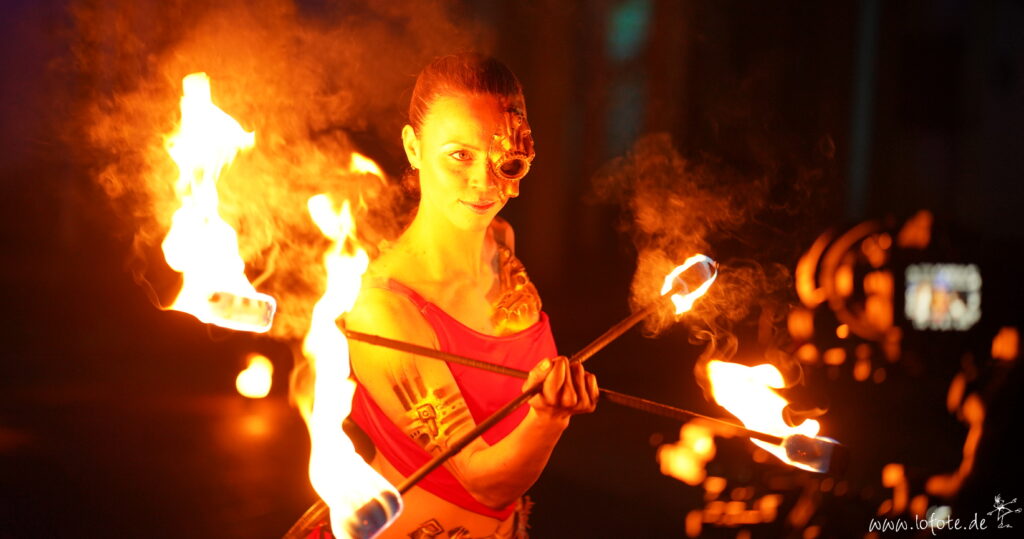
Becoming a Cyborg through bodypaint and latex parts. Picture by Heiko Herrmann

The Vision

The cyborg in MetaMoreFire symbolizes transformation between machine and human. This balance needed to be clearly reflected in the costume design, especially on the head, where robotic elements had to blend seamlessly with more human features.

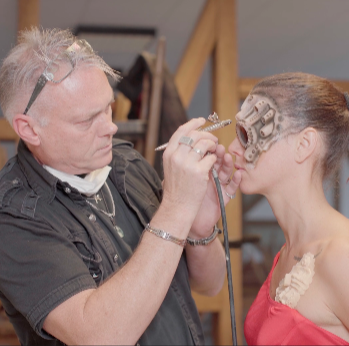
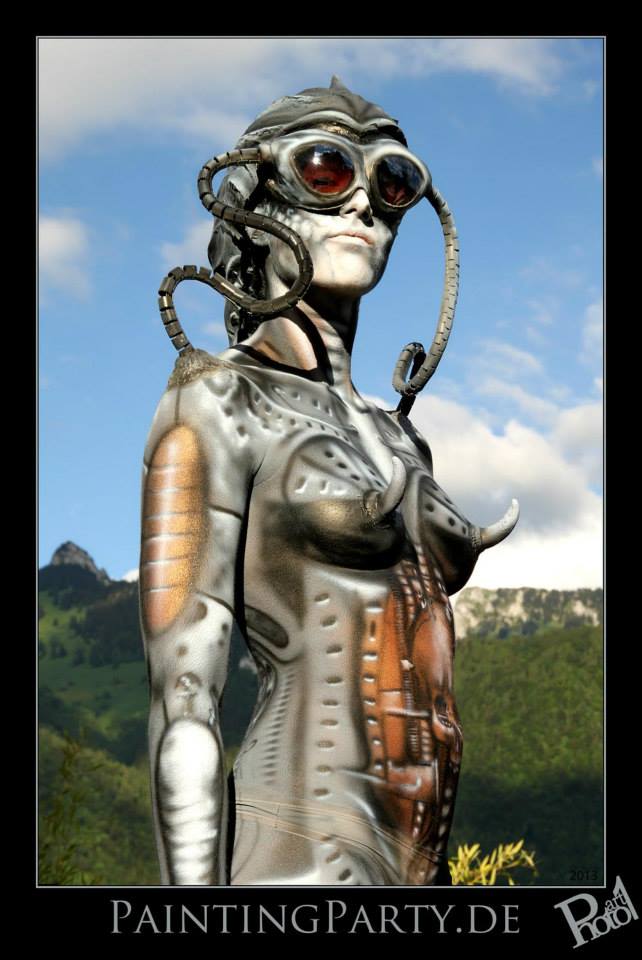
To achieve the look, we invited Udo Schurr, a talented bodypaint artist from Baden Württemberg (Germany).

Robotic bodypaint by Udo Schurr

The Challenge

Blending Human and Robot:  The latex parts provided by Transformaker Shop were essential in combining metallic elements and the skin seamlessly.

Together with his assistant, Udo glued the parts onto the cleaned skin and cut the edges. He then used his body paint spray pistol to blend these parts together, painting over the parts and the transitions to the skin. He also helped to create transisitions with paint between the “real” robot parts and the visible human skin.

The look reminded us strongly of „the Borg“ alien group from Star Trek fiction…Was I really turning into a friendly character? … 😉

The Process:

Time and Weather were NOT our best friends.

Creating the cyborg costume wasn’t just a matter of artistic skill—it was a race against time. This process took several hours, with the crew anxiously waiting and trying to make the most of the time by shooting other scenes.We had Udo for only one day and had to complete all of the cyborg’s scenes that night. To make things more intense, it was a windy night, and we had to continuously adjust the fire decorations used in the scenes. The entire crew had to be flexible, recreating setups to deal with the elements. Despite the wind and the late hours, there was no turning back; we had to push forward and finish the cyborg fire scenes in one night.

Though the latex parts from Transformaker can be reused, the effort involved in assembling and painting them makes it too complicated for a simple performance. This costume was built for the shortfilm MetaMoreFire, and it really came alive for that moment.


Watch the process as video

Here is a little video about the process for you, captured by Eduardo Saraiva, cut by Christiane Meyer.

 
Massive thanks to the artists and team that made this project possible!
  • Enrico Lein for sponsoring the latex parts
  • Udo Schurr and his assistant for bringing our vision alive
  • Eduardo Saraiva for filming some behind the scenes- https://eduardosaraiva.com/
  • Michaela & Wolf Müglich for the fantastic catering
  • Diego for his allround presence
  • Eugeniusfilm & its crew for accepting long hours of filming the set

…and many more!

Transformaker

Enrico Lein, Latexteile

Udo Schurr

Bodypaint & Airbrush

About MetaMoreFire”

Cyborg Christiane Meyer Foto: Heiko Herrmann

About "MetaMoreFire"

Introduction

“Metamorefire” is a short film that explores themes of time, presence, and transformation using the powerful art of dancing with fire. It invites viewers to embrace mindfulness, find personal flow, and live authentically.

What "Metamorefire" is About

“Metamorefire” follows the journey of a robot breaking free from its mechanical existence. The film explores the limitations of time and how to unwind from its struggles through meeting the hearts flame.

Inspiration Behind "Metamorefire"

The inspiration for “MetaMoreFire” came from the desire to be centered and free. Personal experience and philosophical insights have shaped the story around this goal.

Firedance has been experienced as the biggest source of healing for the producer Christiane Meyer and is therefore the elemental transformational power in this movie. The dance represents the burning away of old patterns and the emergence of a new, more authentic self.

(See blog article “How firedance has saved my life”)

We believe, that every human has the ability to find flow and can therefore gain control over their lives to heal, and grow. “MetaMoreFire” wants to encourage individuals to embrace their passions and stay present for a deeper sense of fulfillment.

The Role of Time in the Film​

In “MetaMoreFire,” time is portrayed not as a linear construct, but as a fluid experience that must be lived in the now.

Our modern society is putting big value on effectiveness, productivity and routine, which leads to stress, burnouts and depressen. We believe, that human beings also need to live spontaneity and mindfulness for a balanced life.

(See blog article “Kronos vs Chairos”)

By introducing the struggles of time and how to deal with them, “MetaMoreFire” emphasizes mindfulness and joy of living. By being fully present, the artists can engage more deeply with their work and express their genuine selves.

Conclusion

“Metamorefire” is a compelling exploration of time, presence, and the transformative power of art. It invites viewers to break free from the constraints of time, find their personal flow, and embrace the art of living in the now. 

To stay updated on the release of “MetaMoreFire” and dive deeper into its themes, subscribe to our newsletter:


Subscribe

* indicates required

The Making of the Robot Costume

Making of the robot costume - Shoulder

The Making of the Robot

PHASE 1 : The Concept

It was very clear for me, that I won’t be able to create a perfect, shiny robot shell with my resources.

1. Because I wouldn’t even know where to start building.

2. Because I didn’t have the resources($$) to buy an existing one.

3. Because plan to film a transformation and will therefore need a Cyborg costume that uses of parts of the robot costume.

Therefore, it was more logic to me, to start building single parts that will together add up to both a Cyborg and a full robot costume.

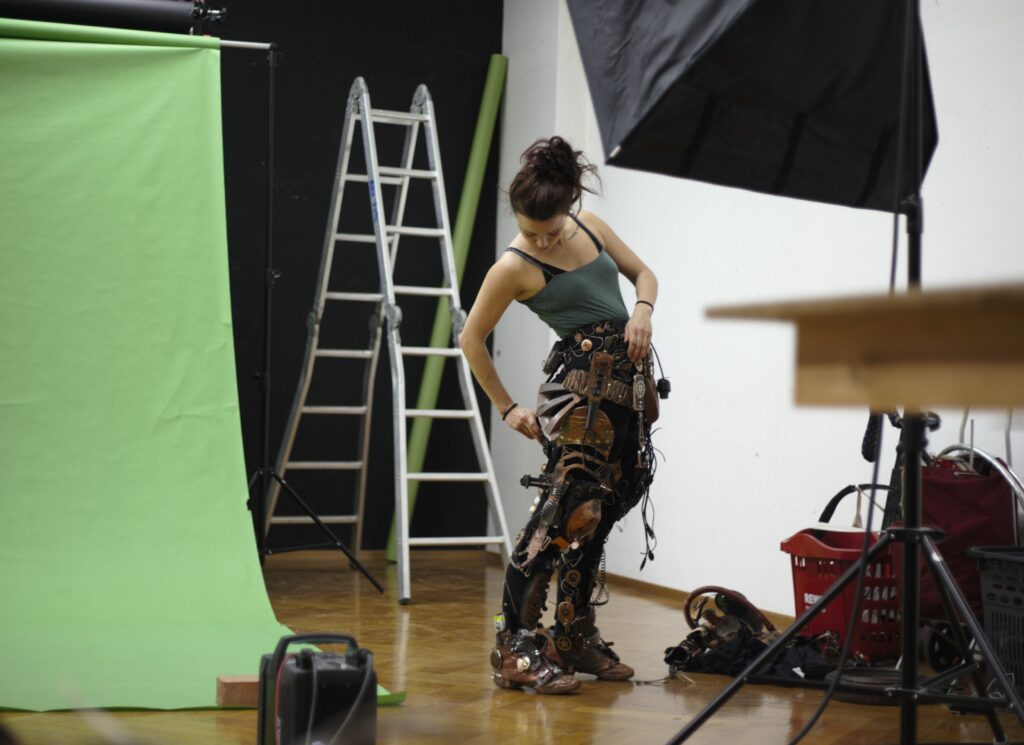
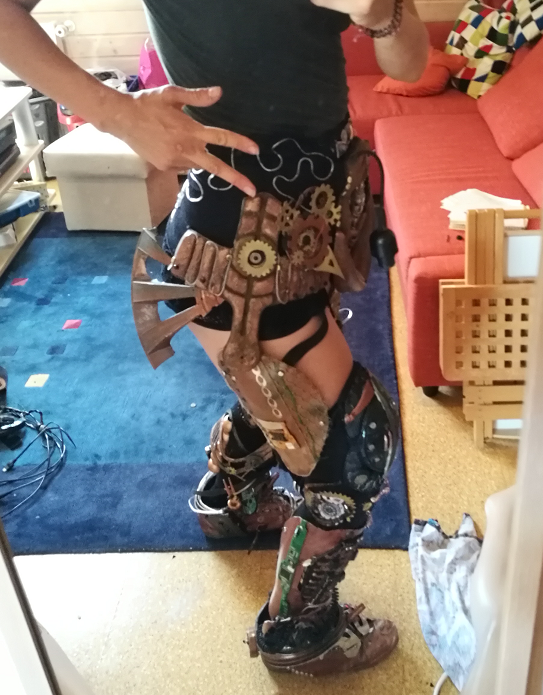
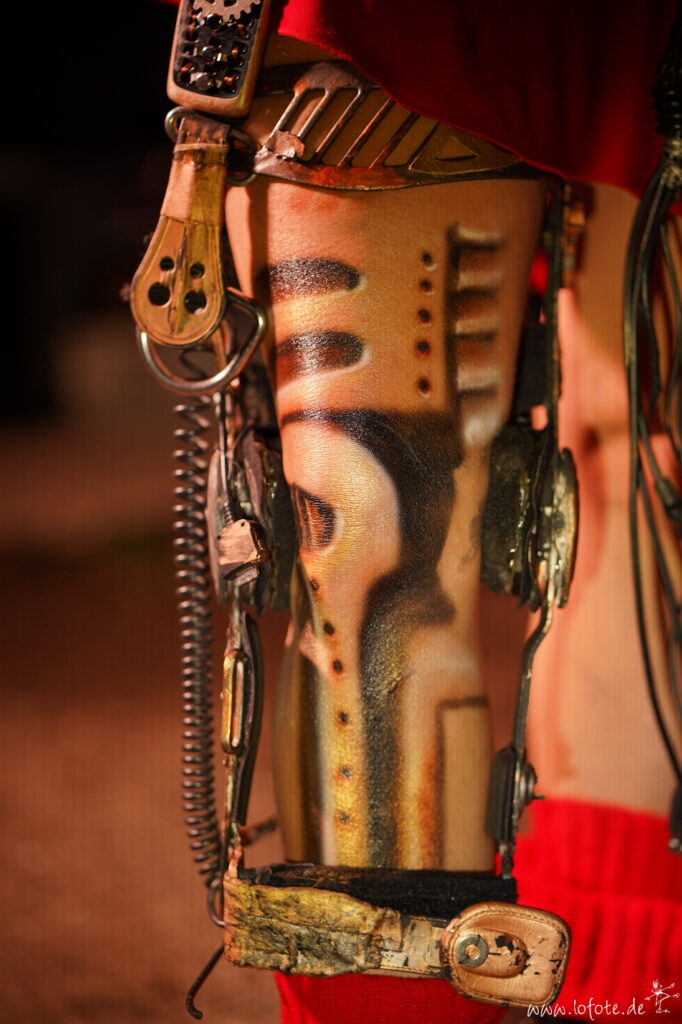
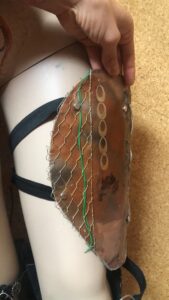
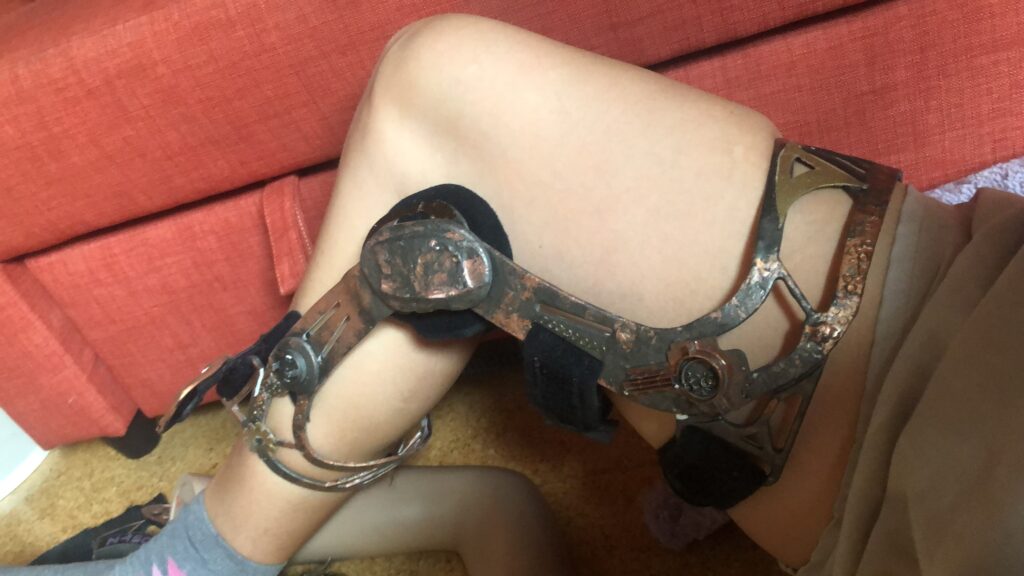
So I would start by looking for different parts that I can slowly unite to a robot armor. I got protection gear for rollerskating, a knee orthosis for alignment from my friend who used to injure herself alot, a leather harness for the chest that can hold some weight attached, and big sheets of worbla.


Making of the robot costume - Leg part

What is Worbla?

This material has changed my life of crafting! You can turn it into literally anything! Worbla is a non-toxic thermoplastic sheet material made partially from wood pulp. Worbla softens at 150 degrees fahrenheit (65 degrees) which means you can usually mold it with your bare hands. You can cut the material with scissors and heat it up to adjust it to your body (careful to not burn yourself). You can roll it, twist it and glue parts together just by giving them the needed temperature. You can staple it, nail it, and sew it. You can buy it in different colors and thickness, depending on your needs. It’s fantastic material for crafting Cosplay costumes, model figures

The Downsides are:

  • It is pretty expensive (73cmx48cm are almost 70 $)
  • It is heat sensitive (don’t leave it under the sun, stored under blankets, inside a tent or too close to fire) 

Buy Worbla

When you use one of our links to buy Worbla on Amazon, we will get a little percentage from Amazon. You won’t have any extra costs. This is a very easy way to directly support our project. Thank you so much for your consideration, and enjoy the limitless crafting possibilites!

…a melting robot?

The heat sensitivity surely was a big problem. We are about to film a fire dance movie. But I was too excited about that material to drop it. Therefore we needed some trickery to overcome this.

The Cyborg costume could only involve pieces, that aren’t melting on my body. And The scenes in which the robot carries fire can’t have much movement in them. This realization was also the impulse to create a transformation scene that involves animation, layers, and long time exposure.

The beautiful thing about film is, that we start from the idea “everything is possible”. After this, it is a question of

  1. How well you can prepare the shoot and its tricks to have an easy postproduction and
  2. Money.

There is this common saying of “we’ll fix this in post production”.

DO NOT FALL INTO THIS TRAP!

Unless you have a beautiful big budget in hand and animators that aren’t busy, it is definitely better to prepare well beforehand and avoid the black holes of figuring out how to fix things in post production.


Stay tuned for Phase 2: Creating the robot helmet.